
Chevron Rows Completed — A Major Milestone
This week brought two major milestones in the Detour Box production—one expected, one long overdue.
Finishing the Chevron Rows
After many weeks of milling, angle cuts, jointing, sorting, and enough clamping sessions to qualify as a form of meditation, I’ve finally completed all of the individual chevron rows for the Detour Box.
Because I keep fairly detailed logs, I can quantify the effort that went into this stage:
~6¼ hours cutting the thousands of Cambia poplar and maple parallelograms.
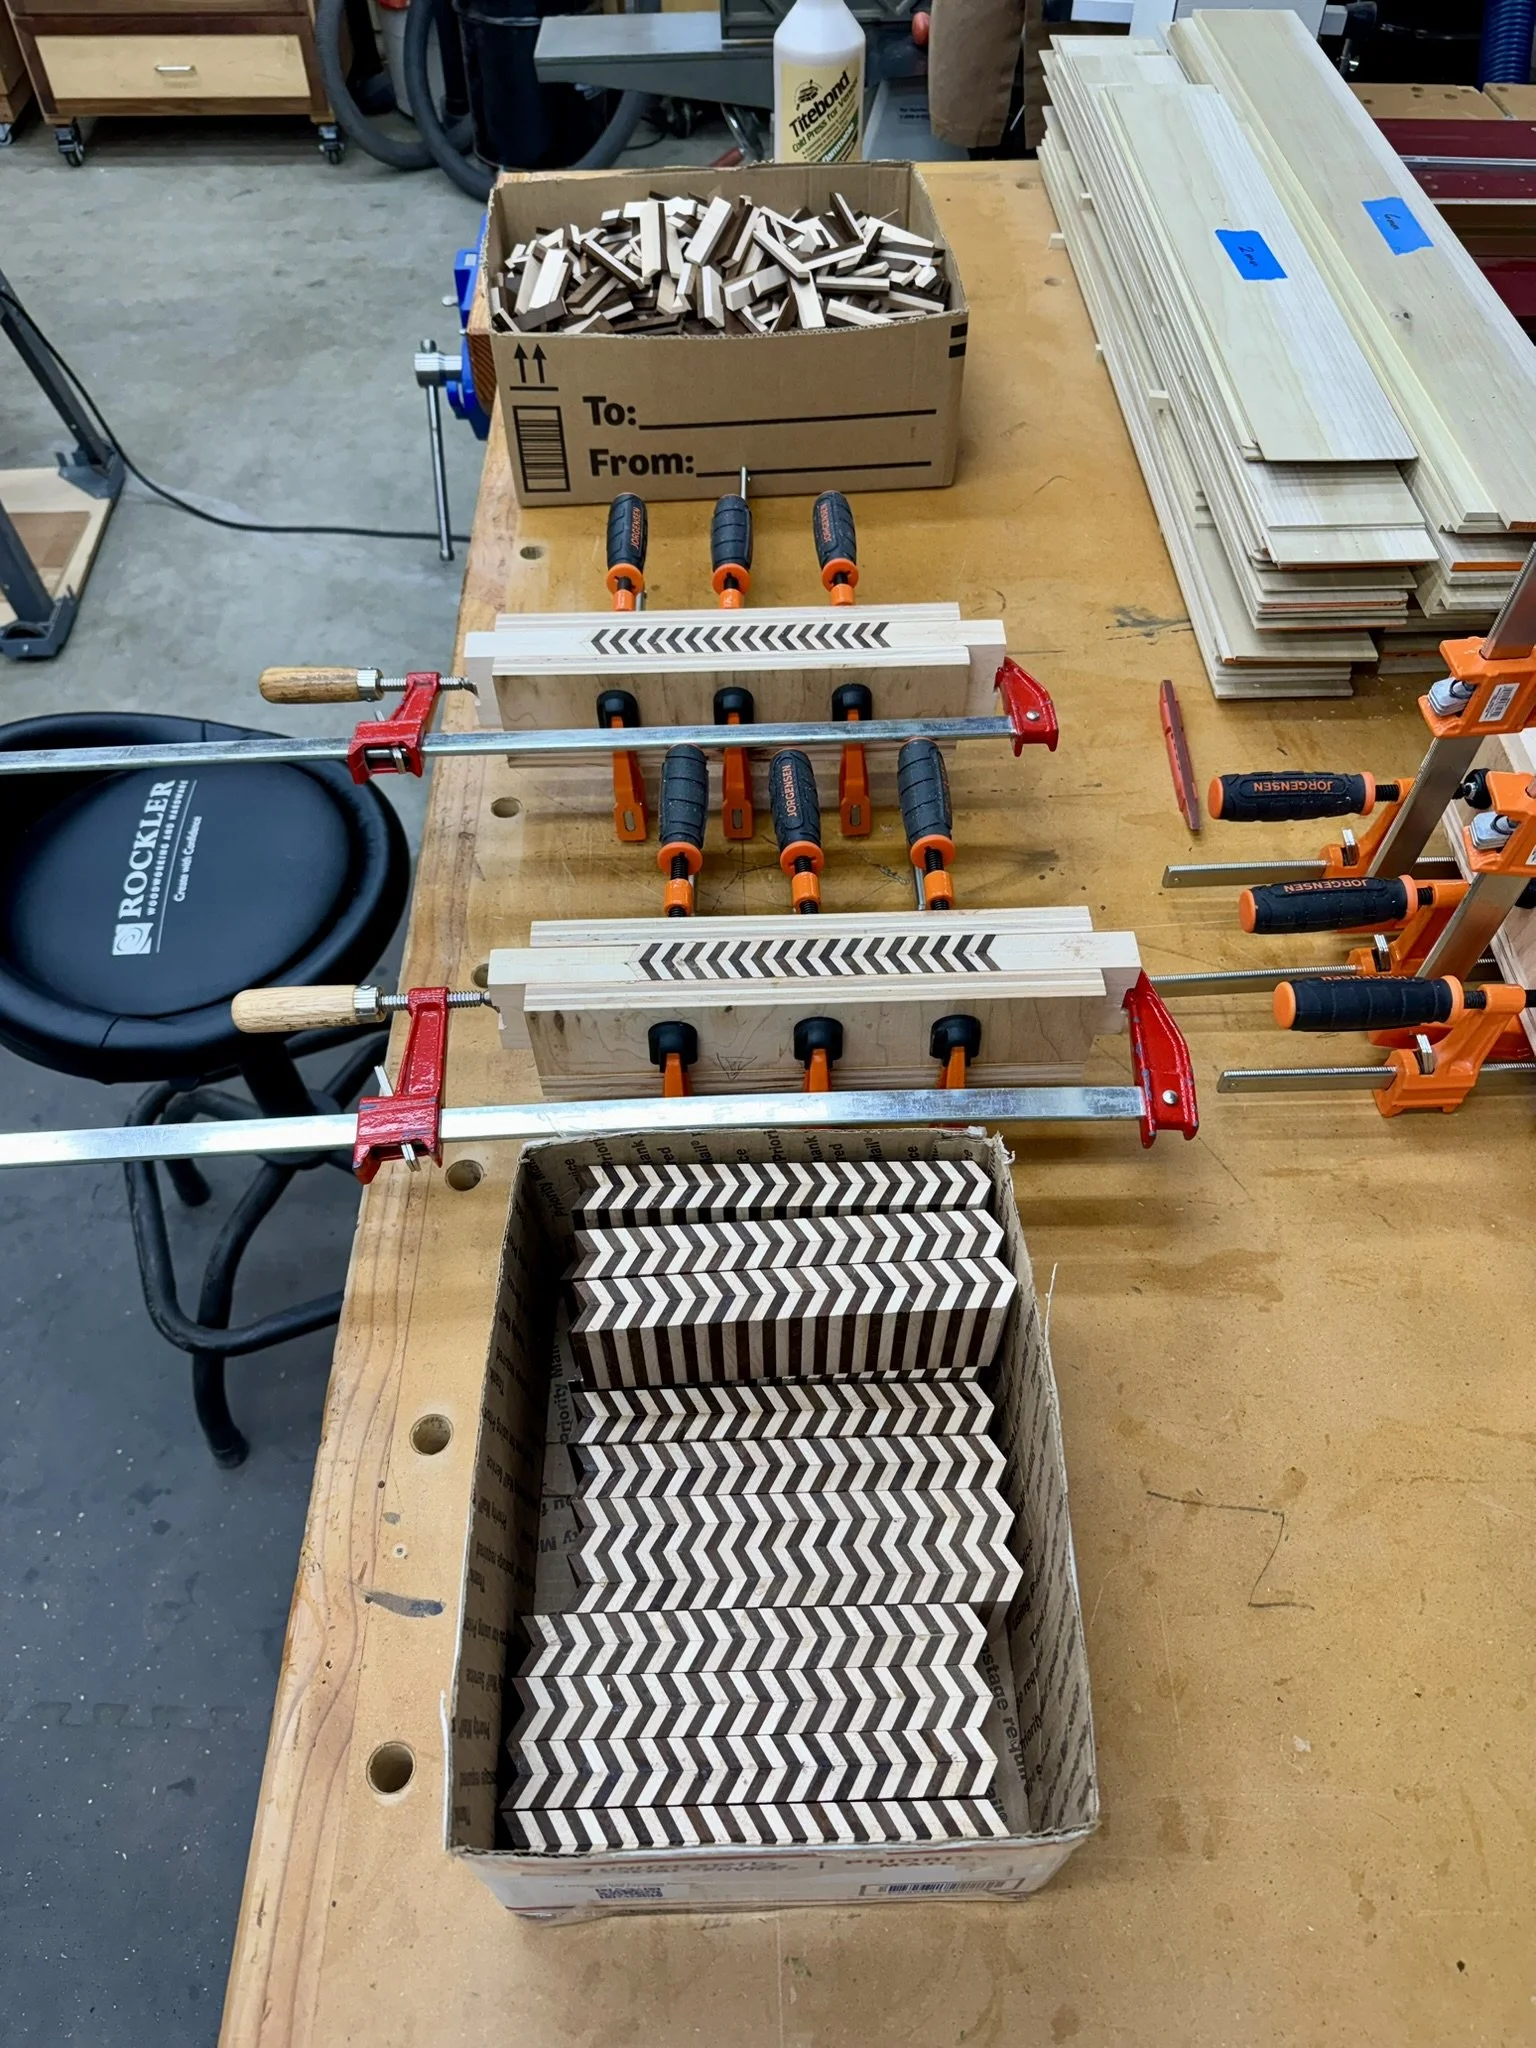
This part went fairly efficiently thanks to a jig I designed specifically for the task—though building and refining that jig took several more hours on its own.~32½ hours of active glue-up work assembling the individual rows.
This figure reflects only the hands-on time spent manually applying glue to each parallelogram, aligning it with a neighbor to form the signature chevron shape, loading the pair into the clamping jigs, cleaning squeeze-out, and rotating batches through the workflow. Because some of the glue surfaces are end grain, additional time is spent “sizing” them to avoid glue starvation. The elapsed duration of this stage stretched across about three weeks, because veneer glue has a long set time and each batch must remain clamped until it reaches a stable cure. Each row takes roughly 30 minutes to process, and I decided that three clamping jigs represented the maximum I could reasonably handle at once—about 90 minutes of glue-up per session.~4½ hours sanding and prepping the rows before assembling them into blocks.
Up to now, most of this work lived as numbers in my spreadsheets, and the glue-up sessions were often mind-numbingly repetitive—the kind of slow, methodical work where my brain would start free-associating just to stay occupied. Seeing the pattern finally accumulate into physical form brought the whole project back into focus.
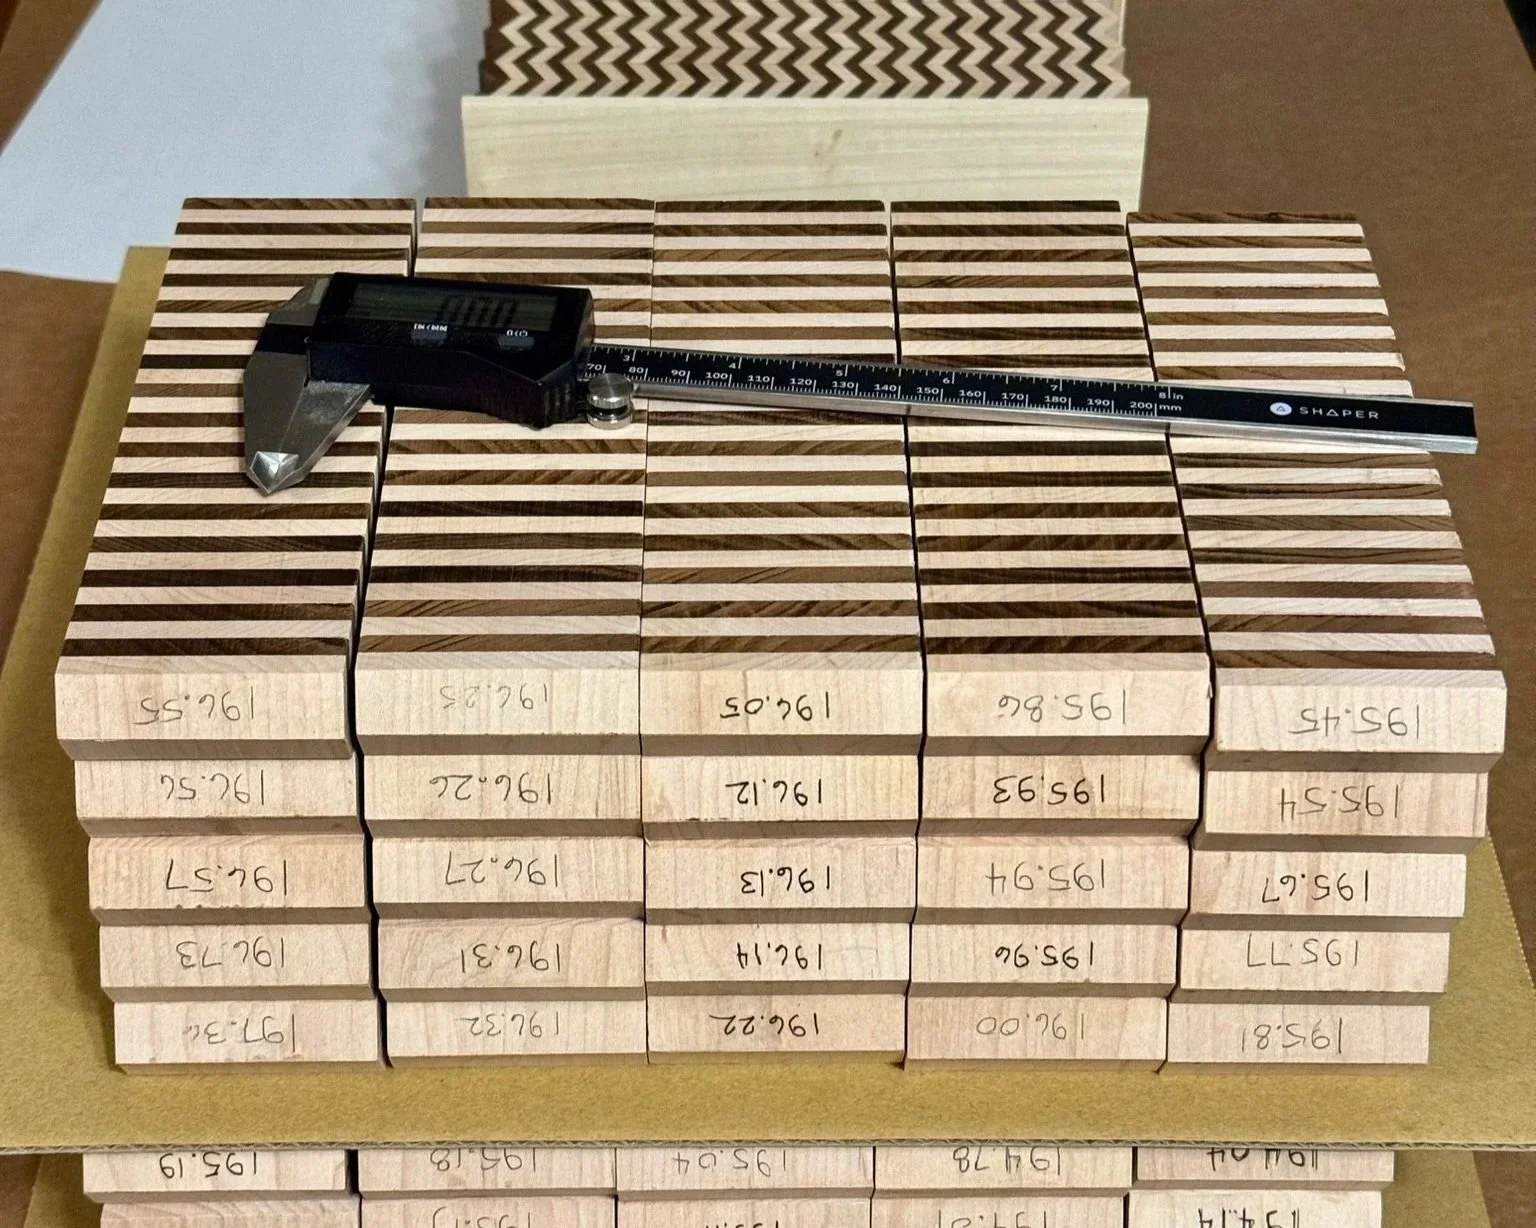
If you look closely at the first photo, you’ll notice a few of the first completed tanegi blocks in the background. Tanegi is the Japanese term used in yosegi zaiku for the “seed block” from which the veneers are sliced. Although the pattern I’m creating is very different from what you see on traditional himitsu-bako from Hakone, the concept of assembling a mosaic from individual wooden pieces is similar enough that these terms are useful and evocative. I’ll share more about the tanegi in a future post once they’re all assembled.
From Parallelograms to Rows
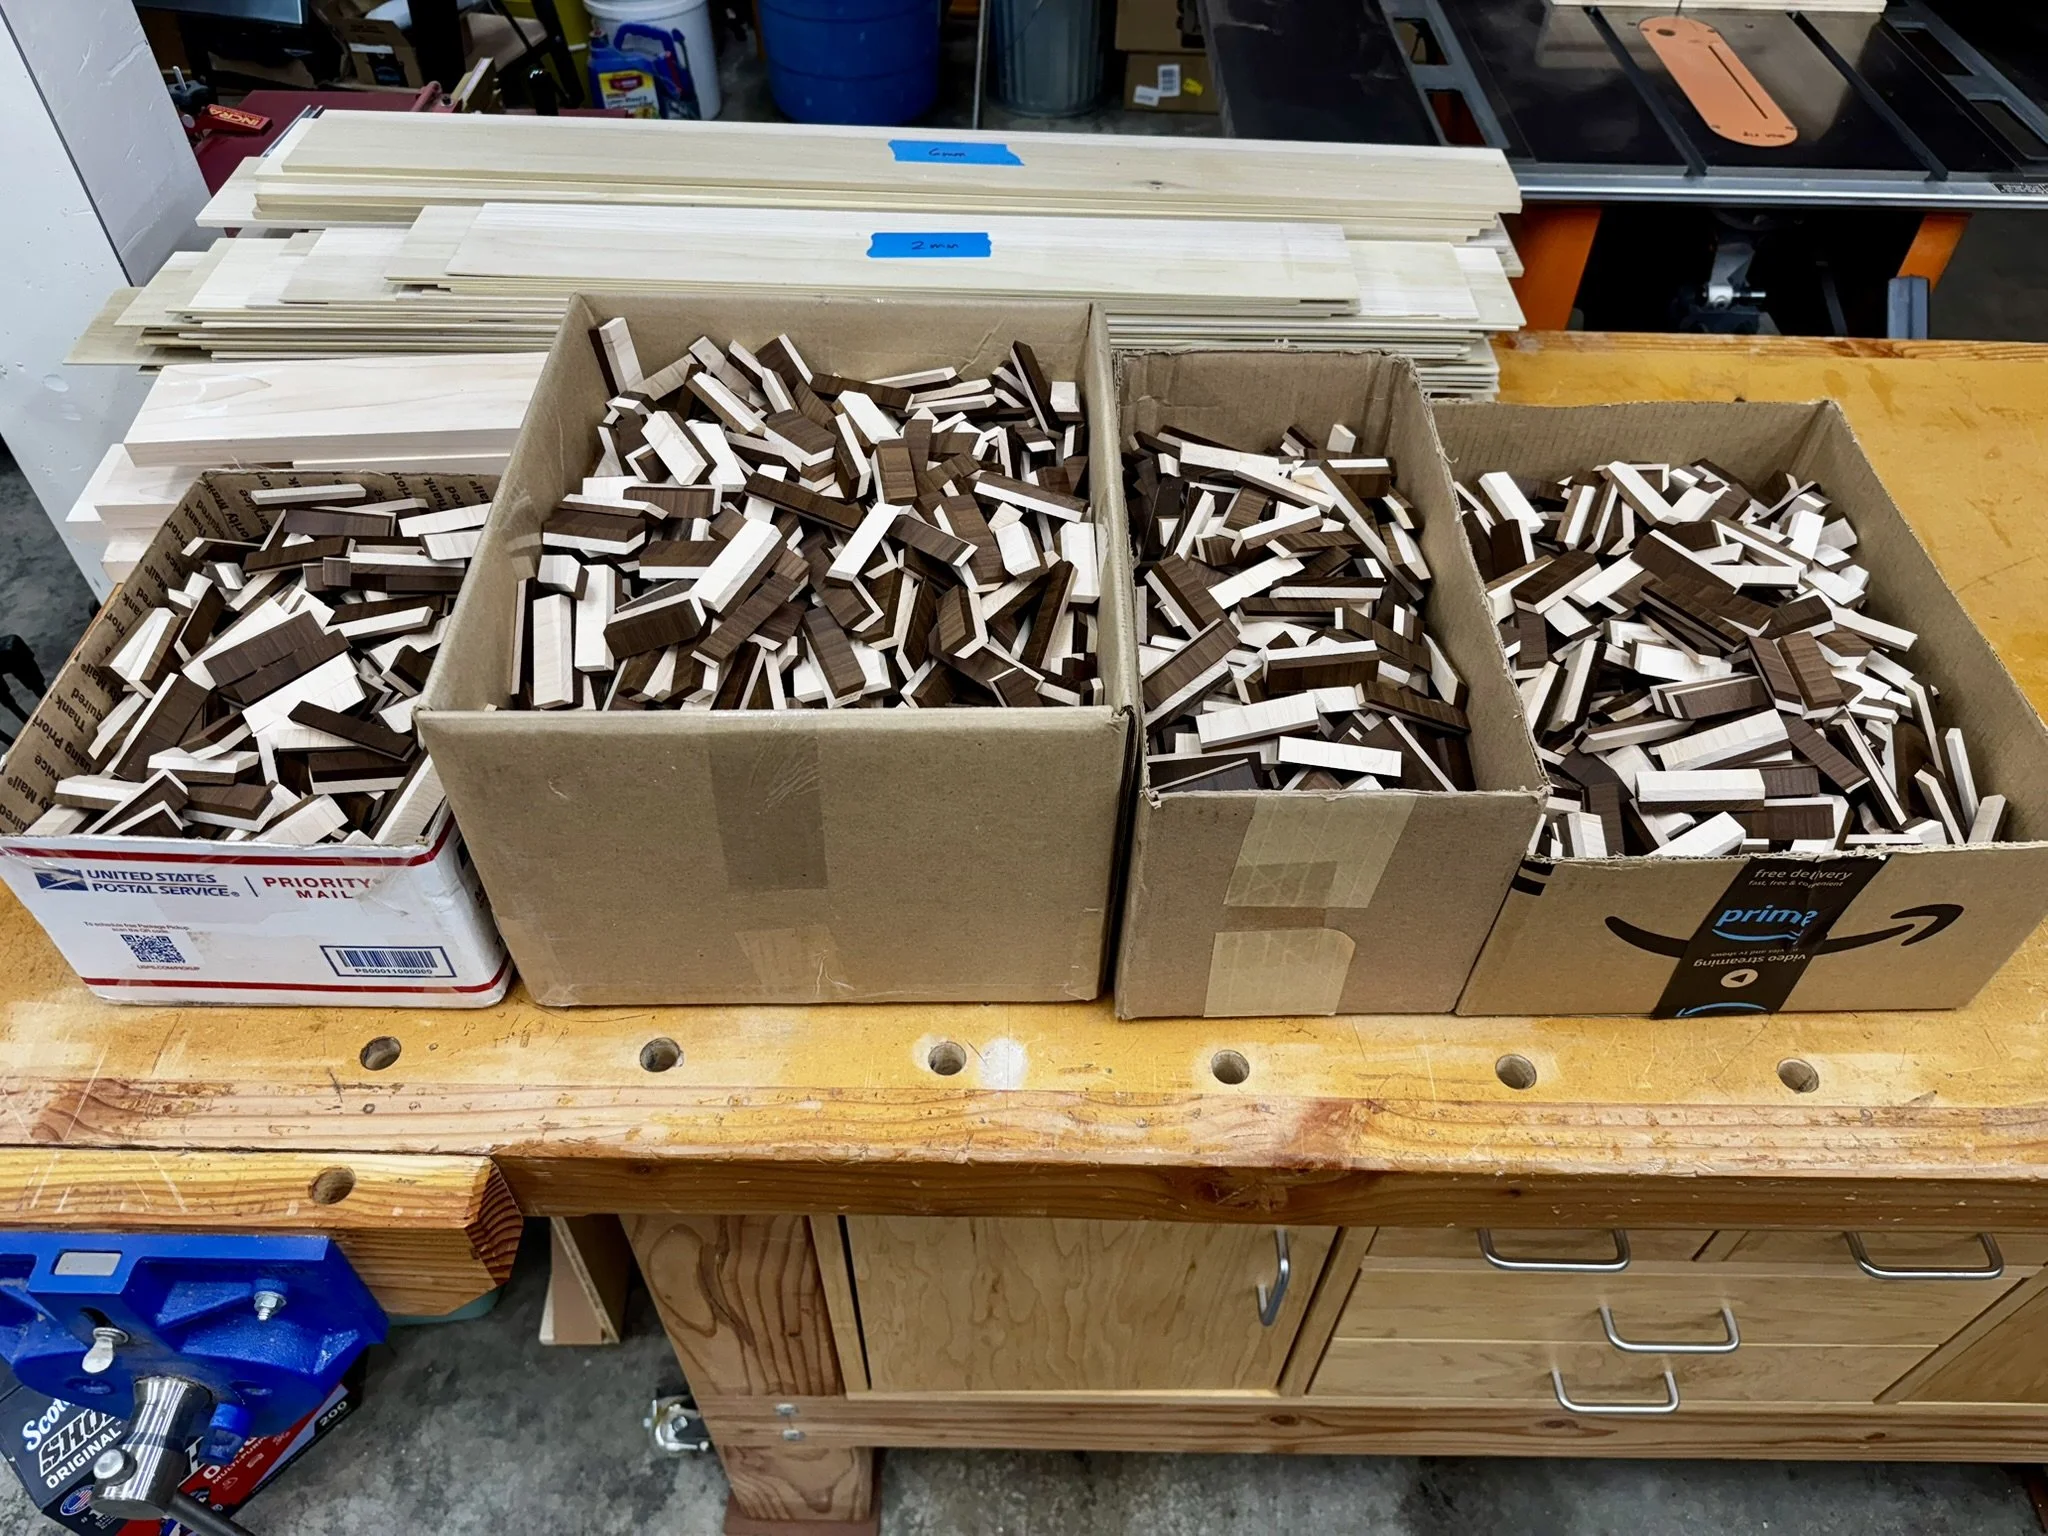
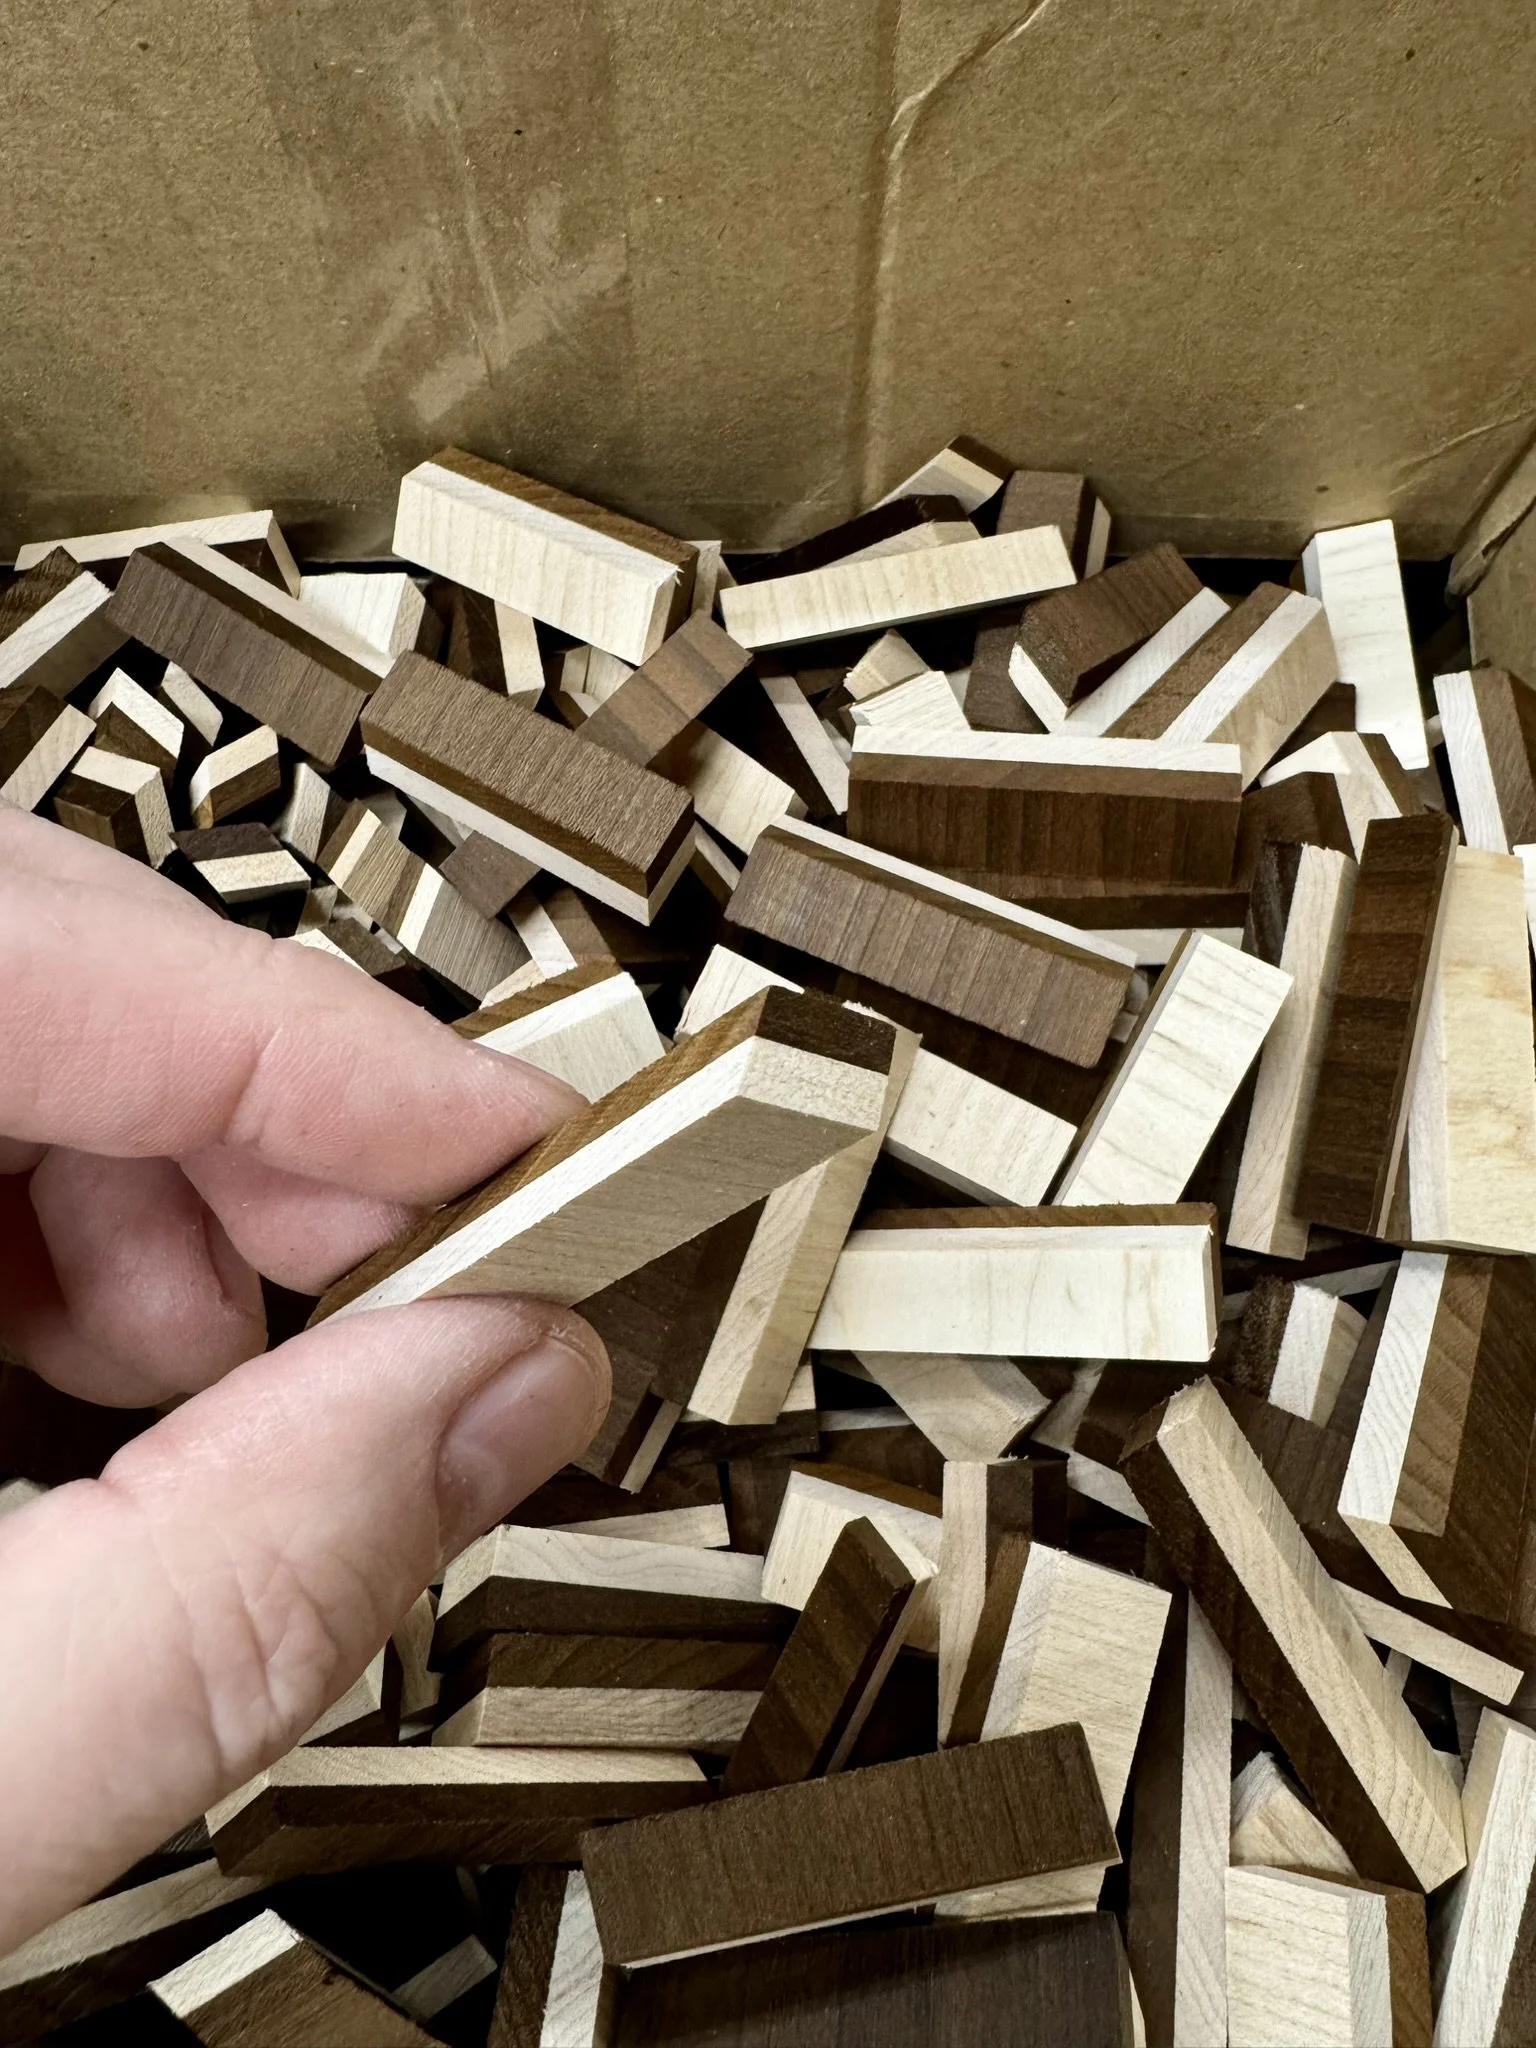
The images above show the pipeline that feeds into all of this. The boxes of loose pieces represent thousands of individual parallelograms, each cut from maple and Cambia poplar billets and inspected before finding its place in a row. After each row comes out of the clamps, it is sanded to a uniform thickness and measured.
It’s impossible to get the spacing between the dark and light bands perfectly uniform—hundreds of tiny cumulative variances add up to as much as a millimeter difference between rows. To prevent this from affecting the visual alignment of the pattern, I sort the rows so that any two adjacent ones have the smallest possible difference in their “stride.”
With the chevron rows complete, the next step is to finish the remaining tanegi blocks in preparation for slicing. That’s the moment when thick billets transform into razor-thin veneers with the repeating zig-zag pattern that defines the Detour Box.
A Long-Awaited CNC Upgrade
The second milestone this week was the arrival of my Shaper Bench Pilot—a long-delayed accessory for the Shaper Origin. I’ll be using it for the fine detailing on the box lids, as well as several other small but important routing tasks. For these steps, the project really benefits from repeatability and the ability to batch identical parts—something that would be tedious and error-prone to do entirely by hand. The Bench Pilot should eliminate a potential production bottleneck and give me a more controlled, scalable workflow for the next phase.
Looking Ahead
Next week, my focus shifts to surfacing and assembling the remaining tanegi blocks. Once they’re complete, they’ll go on the back burner for a bit while I work on several other tasks related to the internal puzzle mechanics.
I’m really pleased with how the tanegi blocks are coming together so far—the contrast between the maple and the Cambia poplar is crisp, clean, and exactly what I’d hoped to achieve when I first settled on this pattern. Seeing the rows integrated into the finished blocks drives home how striking the final veneers should be once they’re sliced.